Cooking rice packets in a Thermos
A few facts led to embarking on this experiment:
- My 12-year-old son and I are both
lazyuninterested when it comes to preparing entrees for him to take to school. - Mornings are not a great time to do something involved, both due to a night-owl tendency on his part and the short window to get out the door.
- Sometimes it’s nice to have something warm at lunch, but that usually involves effort in the morning.
- Ever since I read J. Kenji Lopez-Alt’s revelations about cooking pasta (essentially: you don’t need a lot of water and it doesn’t need to boil after the initial stir), I’ve been using his method for pasta. What else might it apply to?
All this lead to the following:
My hypothesis and “experiment design”
If pasta can cook by simply leaving it in hot water for a while, I hypothesized that the parboiled rice in various seasoned rice packets could, too. I further expected that pouring boiling water into a Thermos in the morning would result in a nice warm meal at lunch.
I was ready to experiment!
(I’d already tried this with some seasoned pasta packets so I wasn’t totally starting from scratch, though.)
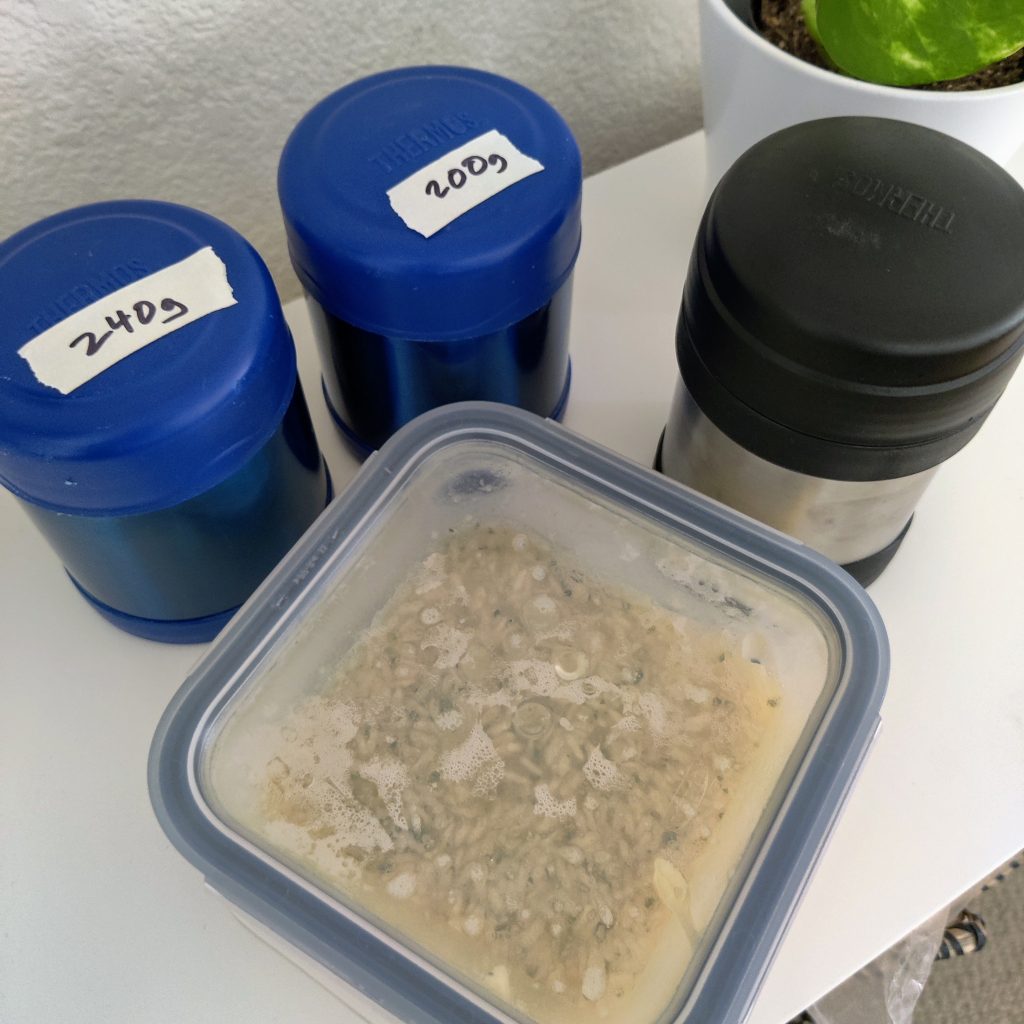
For each variation, I used the same method:
- Split the packet’s contents between two containers, trying to ensure the seasoning was evenly distributed.
- Boil water in an electric kettle and pour the desired amount (by weight) into the containers.
- Seal the containers and shake them around a bit to get the rice mixed with the water.
- After four hours, check their temperature, fluff them up, and taste them.
I started out intending to just test if the method itself was viable, but since I had two Thermoses and a rice packet has two servings, I decided to test different water amounts at the same time.
Then I realized I had a different rice packet on hand and was curious to see how much the Thermos’s insulation contributed to cooking, so ended up with a third and fourth variation.
Variations #1 and #2: viability and water volume
I first grabbed this “Roasted Garlic Risotto” from ALDI (“Priano” is their “Italian foods” brand name).

It calls for 2⅔ cups water but that won’t fit in my little 10-ounce Thermos, and besides, there’s going to be almost zero evaporation; we want enough water to hydrate the rice but not enough to leave it soupy. In the interest of experimentation, I went with one cup (240mL/grams) in “Rice #1” and a little less (200mL/grams) in “Rice #2”.
After four hours, I cracked them open. They both looked good: hydrated, not soupy, and they were warm! I checked their temperature and they were at 137ºF and 131ºF, respectively; the extra boiling water kept #1 a little warmer but they were both very pleasant.


They didn’t look super appealing right out of the gate—stratified because the spinach had floated to the top. But a quick vigorous stir with a fork later gave us these very respectable textures. (It’s not full-on creamy risotto, but given the minimal effort—and minimal stirring—I’m perfectly satisfied.)

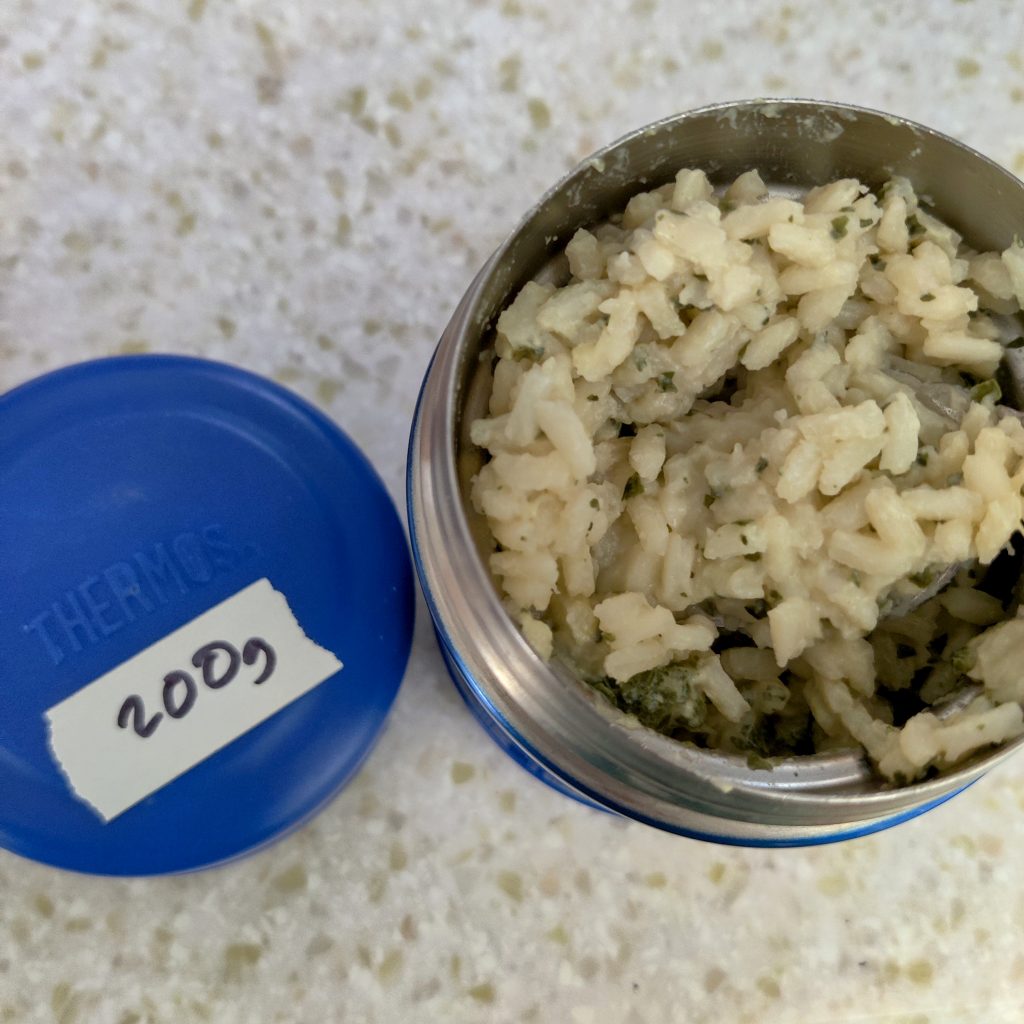
Both versions were soft and pleasant. As you can see, the extra water in Rice #1 did give it a creamier texture, which I preferred. However, my son preferred the more distinct grains of Rice #2, so the takeaway is “figure out what you like.”
Variations #3 and #4: rice brand and container
Since I was on a roll, I busted out this Knorr Rice Sides Chicken Flavor packet.
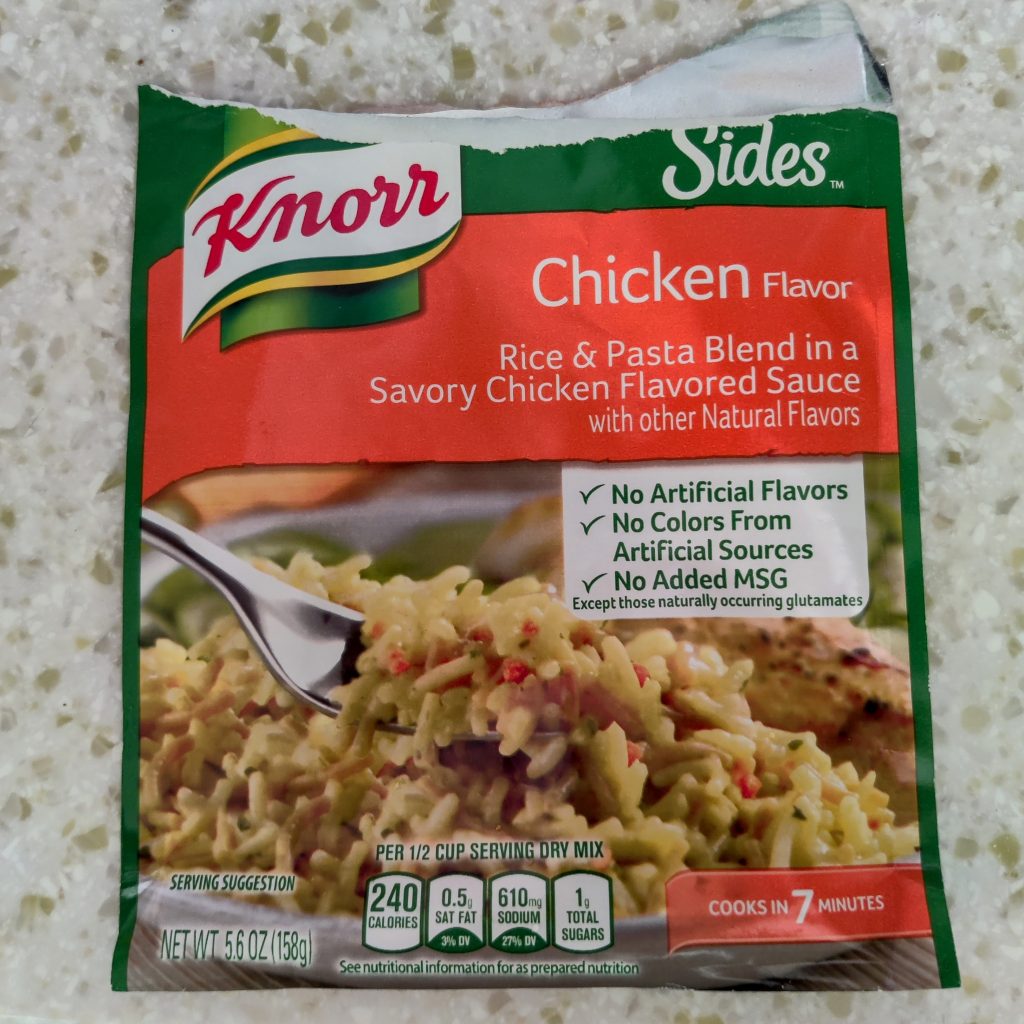
I wanted to see if there was much difference between brands and determine if a Thermos was really necessary to the process.
For containers, I used another 10-ounce Thermos and a thick glass IKEA food storage container with a plastic snap-on lid (basically IKEA’s version of the Glasslock containers).
After splitting the rice packet’s contents, I put ½ tablespoon butter in each container to match the package instructions. I used 200mL/grams boiling water in both containers so the only variable was container.
After four hours, the answer was clear: a Thermos (or some other form of significant insulation) is the way to go.


The results in the Rice #3 Thermos were similar to Rice #1 and Rice #2; 126ºF was a little cooler (perhaps because it’s a different model of Thermos?) but still warm and delicious.
Poor Rice #4, however, was a mere 79ºF (and for context, the ambient temperature in the kitchen was 78ºF at the time). It’s clear that the water wasn’t well-absorbed and the rice wasn’t fully cooked, and it definitely was not pleasant to eat. (I took one obligatory forkful despite the questionable bacterial implications of it sitting in “the danger zone” for an extended time, and would not recommend it—not from a taste, texture, or food-safety perspective!)


If you don’t have a Thermos and for some reason do want to embark on this adventure, I’m sure there are probably ways to add sufficient insulation from the outside. I’m all about crafty and clever solutions to problems like this. But also, a Thermos is ~$15 and will last for years and years, so…
My conclusion
This is a winning strategy!
The pros:
- Minimal school-morning prep. My son splits the pasta packet between Thermoses (when needed) as part of his afternoon chores, which leaves only boiling and pouring water for the morning—about three minutes total time and 30 seconds of actual effort.
- It’s a tasty warm meal that doesn’t require pre-cooking, rewarming, or any extra dishes. My son can (and is willing to) do everything himself.
- The packets are shelf-stable and come in a wide variety of flavors, so it’s easy to keep options on hand without risk of food spoilage. It’s also a great backup option if you usually do entrees based on fresh foods but can’t get to the grocery store.
- It’s a very inexpensive entree. Where we live, the packets are 79¢ each, so 40¢ + fuel for boiling the water per serving.
The cons:
- The texture is not quite as good as making it on the stove and eating it immediately.
- It requires a Thermos or some other significant insulation.
- The nutrition may or may not be what you’re looking for.
The same technique can also be applied to other convenience packets, like the pasta ones. I’ve found that the texture trade-off is a little more pronounced for pasta (four hours is a long time for pasta), but I’d still rate it about 85% as good as fresh-cooked, and my child is, let’s say, “a little less discerning” in his pasta preferences, so he’s fine with it.
If you try it, I’ll be curious what you think!